
Plugins add extra functionality to your applications/websites built on WordPress. Installing a plugin is pretty simple. There are three simple ways through which you can install the Pie Forms or any other plugin to your WordPress dashboard. All three methods are covered below:
- Installation through search
- Bydirectly uploading the plugin on WordPress
- Manual installation using FTP
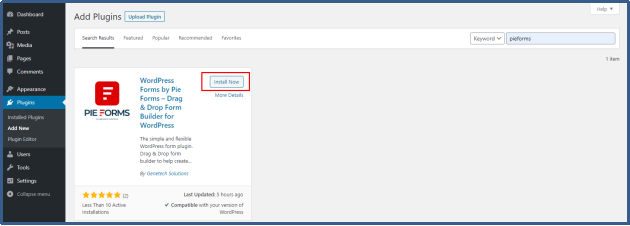
INSTALLING PIEFORMS USING WORDPRESS PLUGIN SEARCH
The easiest and quickest way of installing Pie Forms is through the plugin search.
- Go to the dashboard after logging in to your WordPress admin panel.
- Select Plugins>Add New.


- You will see a search bar on the left side of your screen.


- Search for Pie Forms and click install.

- To make it accessible, click “Activate.”

You will be able to see Pie Forms under the list of plugins on your WordPress Dashboard.

INSTALL A PLUGIN USING WORDPRESS ADMIN DASHBOARD
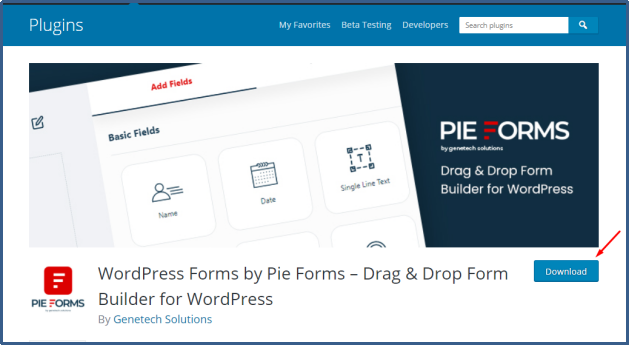
The next method is to install it through the admin panel. You can first download it from WordPress.org in the form of a zip file.
Download
- Go to WP admin area
- Select Plugins>Add New
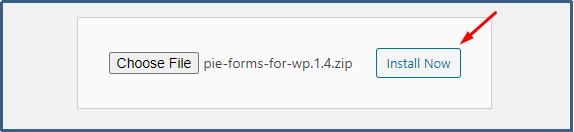
- Click on the upload button on the top.


- Click on the Choose File button


- Select the downloaded zip file of Pie Forms from your desktop and click Install.

- After installation click on the activate tab
.

After activating it, you will be able to see the Pie Forms Registration Plugin in your WordPress plugin directory.
INSTALLING PIE FORMS MANUALLY USING FTP
You can also install Pie Forms manually using the FTP. This method is a bit complex for beginners. If you are new to WordPress, we recommend you stick to the above two simple methods.
For manually installing Pie Forms, you first have to download the Pie Forms as explained above in the second method.
- After downloading, unzip your Pie Forms
- Once connected to your FTP client, go to the wp-content/plugins folder.
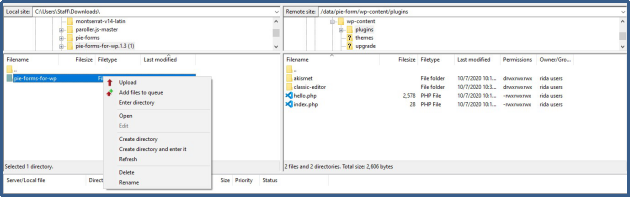

- Upload the extracted zip file to your plugins folder.
- Visit the admin area to search for Pie Forms which should be
- Click Activate to start using your plugin.
That’s it. Pie Forms is now installed and activated.


