Password Protection is a very useful add-on that enables your form to have password protection. This makes your Pie Form secure and prevents any unwanted submissions.
A user can only view and access your form if they have the password.
This tutorial shows you how to install, activate, and use the Password Protected Add-on.
Installing Password Protected
- To install Password ProtectedAdd-on, log in to your Genetech Store Account and download the Add-on.
- Go to WordPress Admin Dashboard > Plugins > Add New.

- Upload the zip file of the add-on.

- The plugin will now be visible in the list of plugins.
Activating the Add-on
If you are using Pie Forms Premium, you only have to activate the add-on. The license key is not required.
- To activate the plug in, go to the list of inactive plugins.

- Locate Pie Forms (Add on) and click on the ‘Activate’ button.
If you are not using Pie Forms Premium, you will require the License key.
- To get the license key, go to Genetech store account > My account > My Keys.
- Copy the key.
- Go to your WordPress Admin dashboard, and click on Pie Forms.
- Then, Pie Forms > Global Settings > License Key
- Paste the email address and license key and click Activate.
The add-on has now been activated.
Adding Password Protection in a form
To add Password Protection in Pie Forms, you need to create a new form or edit an existing one. If you are new to Pie Forms, you may want to look at How to create your first form on Pie Forms.
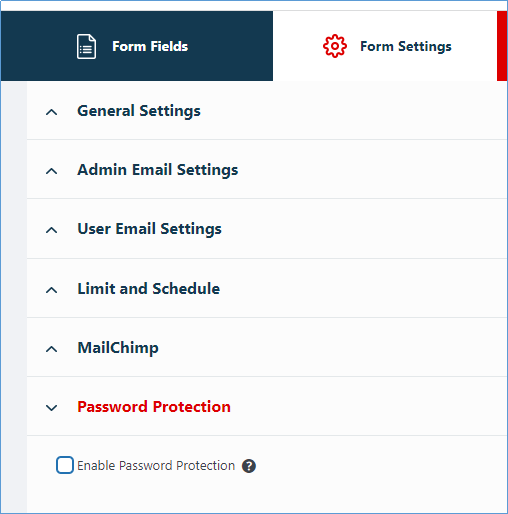
- From the form editor, go to Form Settings, and locate Password Protection.

- Click on the ‘Enable Password Protection’ ’check-box to make this form private and password protected.

- Create your own password or click on the Generate password button.

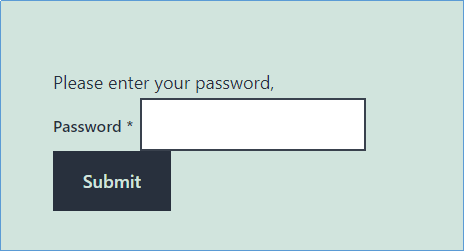
- Enter a customized message that will be displayed above the password field on the frontend.

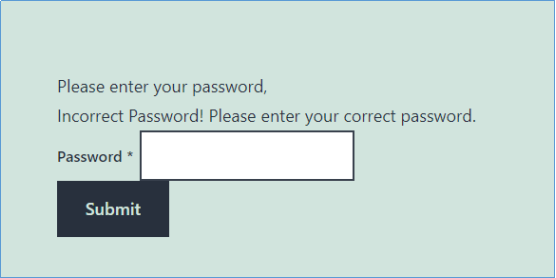
- Enter a customized message that will be displayed if the user enters an incorrect password.
This is how it looks when it is complete.


That is it! Your website is now password protected! Was this helpful?


