
Do you want to accept payments with WordPress forms? You can give users a simple way to submit payments with the Pie Forms Stripe Add-On since it integrates with every form you create on your WordPress website without any hassles.
This article will walk you through the process of installing and using the Stripe Payment Addon with Pie Forms.
- The Stripe Payment Addon installation
- Making a Payment Form
- Enabling Stripe Payments in Your Forms
Before we proceed, you must install and activate the Addon on the PieForm Admin Dashboard. Let’s start.
How to Install and Activate the Add-on
To install the add-on, log into your Genetech Store Account and download the plugin file.
- Go to WordPress Admin Dashboard > Plugins > Add New
- Upload the zip file of the Addon.

The plugin will now appear in the list of plugins.
- You only need to activate the addon if you use Pie Forms Premium. There is no need for the license key.
- Go to the list of inactive plugins to turn the plugin on.
- Click the ‘Activate’ button next to “Pie Forms (Addon) – Stripe” to activate it

If you are Pie Forms basic user, Upgrade to PRO or purchase the addon directly.
- To activate the license key, click on Genetech store account > My account > My Keys.
- Copy the key.
- Click Pie Forms on the WordPress Admin dashboard.
- Next, go to Pie Forms > Global Settings > License Key.
- Paste the license key and email address, then hit “Activate.”
- The Stripe Payment addon has now been installed and activated.
Making a Payment Form
After the add-on has been activated, you can now create a form to accept payments. You may create a new form or edit an existing one and add Stripe functionality to it.
- To accept payments, including one of the following payment fields on your form.
- Single item (Fixed or User Defined)
- Multiple Items (For Fixed various options)

After that, select the field’s edit button and make the necessary changes to both the basic and advanced settings.
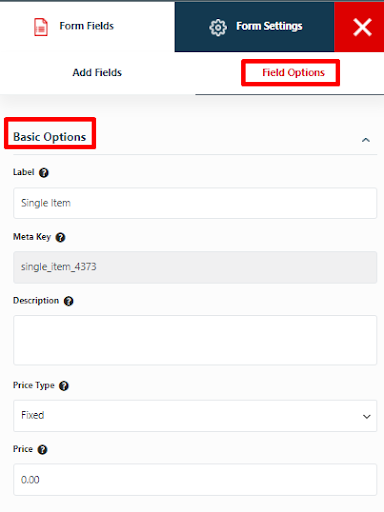
Basic Options
- Change the Meta Key and Label.
- Add a description if necessary.
- Choose the price type (user-defined/fixed).
- If Fixed is chosen as the price type, a new Price field will appear where you may enter the amount you want to collect.
Advanced Options
- Add in the Placeholder Text (Not available on multiple item field)
- Enable Hide Label to hide it
- Additional CSS
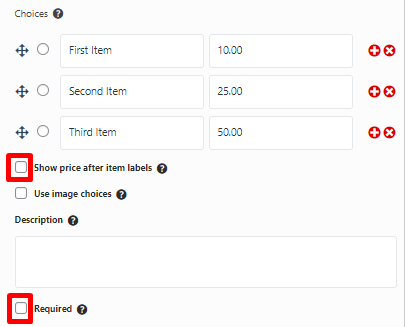
The additional settings in the Basic Options in the Multiple Item field
- Add or remove various options.
- Activate the show pricing setting to make it visible on the front end.
- Add in Image choices after enabling it
- Make it a required field.
Setting Up Your Forms to Accept Stripe Payments
When you’re done with your form’s fields, you’ll need to enable Stripe.
In the form builder, go to Form Settings >> Stripe Settings. Here, select the Enable Stripe checkbox.
Fill up the remaining settings, which include:
- Payment Logo: If needed, provide a unique logo in your payment field.
- Currency: Choose the currency you wish to accept payments in.
- Mode: Live/Sandbox. Set this option to Live if you want to process live payments.
- Payment Type: Products and Services or Donations. Set this option to the choice that corresponds to the kind of transactions you will be handling with this form.
- Cancel URL: Users will be redirected to this URL if they don’t complete their Stripe payments.
- Publishable/Secret key: After registering with Stripe, you can get these keys from your Stripe dashboard.
Once you click Save, you’re done!
How can you obtain your Stripe API keys?
You must first create a Stripe account in order to obtain your API keys.
When you’re ready, you can locate your Stripe API keys in the dashboard of your Stripe account.
- Register for a Stripe account.
- In your dashboard, click “Developers” and then “API keys.”
- Your publishable and secret keys are listed under “Standard keys” on the “API keys” page. To uncover your secret key, click the “Reveal live key” button.
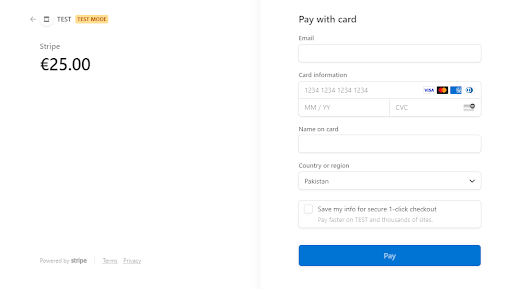
Users who submit a form integrated with Stripe are directed straight to the page where they can provide further information and make a payment.
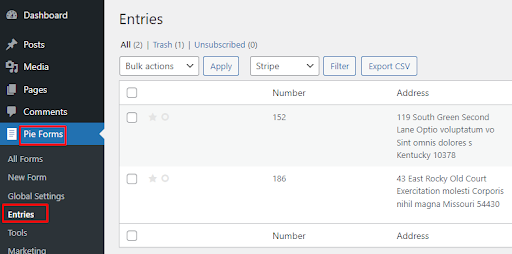
You can verify the successful transaction in your WordPress entries section and the payments section of your Stripe dashboard.
Accept Google Pay and Apple Pay in Pie Form Stripe Add-on
One of the finest ways to enhance your consumers’ online shopping experience and increase sales and revenue is to accept various modes of payment on your website. Customers can use Apple Pay and Google Pay along with credit and debit cards, and Pie forms Stripe Addon make it simple to accept these payment options on your website.
This tutorial will show you how you can set up different payment methods in Stripe Add-on
The Pie Forms Stripe Addon now offers Google pay and Apple pay.
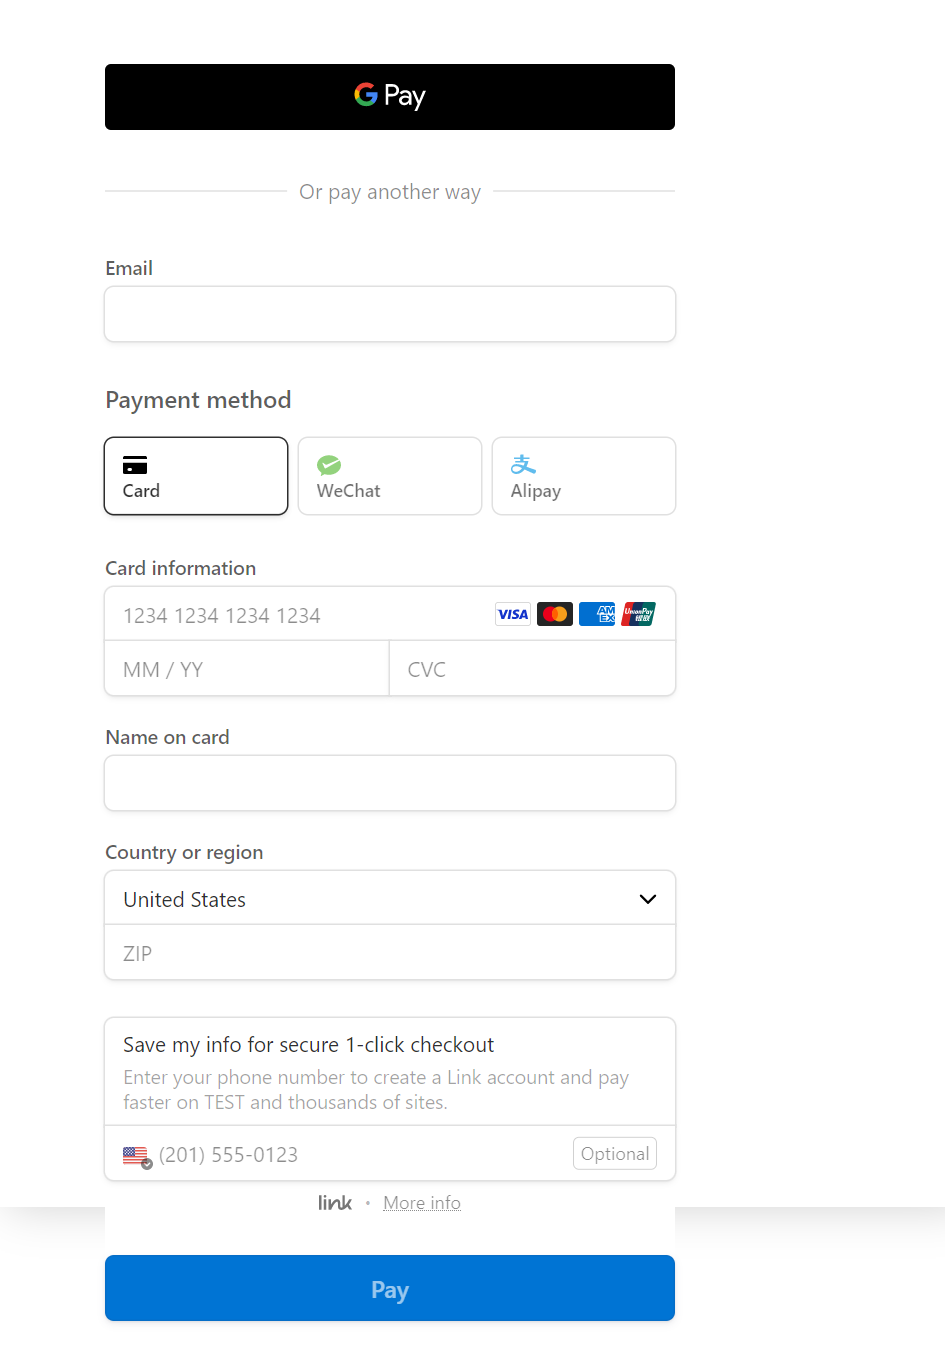
With the stripe Add-on, you can now take advantage of different payment methods. You can either pay with your card or choose from the popular payment methods which are available on your stripe accounts.
The following are some examples of payment methods:
- Wallets: Alipay, Link, WeChat Pay
- Bank debit: SEPA, ACH, Canadian pre-authorized debits, and more
- Bank redirects like Bancontact, EPS, Giropay, IDEAL, and many more!
To enable payment from these payment options, Go to your Stripe Account > Settings > Payment Methods.

Click to turn on the payment method you want to enable.
And that is all! You now understand how to use the Pie Forms Stripe addon to accept payments with Stripe on your WordPress website. Contact us if you have any additional questions.


