Are you searching for a way to create events based on form entries and send them directly to Google Calendar in an easy way? Try Zapier. It will help you send form entries automatically, saving time and the hassle of adding them manually.
This tutorial will show you how to connect Google Calendar with Pie Forms and collect the form entries in the desired calendar.
Step1: Create Your WordPress Form
The first thing you need to do is to install and activate the Pie Forms plugin. Next, create a form or edit an existing one. If you are new to Pie Forms, check our tutorial on How to create forms with Pie Forms.
For our tutorial, we will select the event planner form.

Step2: Connect Your Forms With Zapier
We will use Zapier addon to integrate Pie Forms with Google Calendar. With this add-on, you can connect to multiple web applications and automate your work. Log into your Zapier account, create a new zap, and set up the trigger. Here is our step-by-step guide on how to get started with Zapier.
Note: Ensure you have at least one test entry on your form so that you can proceed through the entire trigger setup process. You can perform a test entry from the Pie Forms preview page for that particular form. Click on Preview to go to your form.

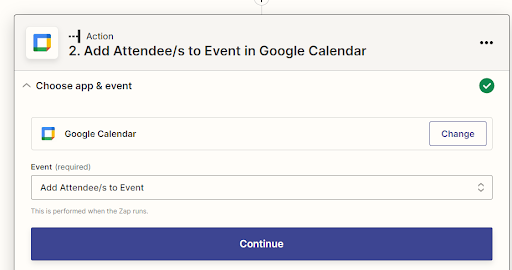
Once the trigger is tested, choose an action application and event to perform the task. In our example, we’ll add the users directly to the Google Calendar instead of manually adding each one.
Select Google Calendar and add the required event, and press continue.

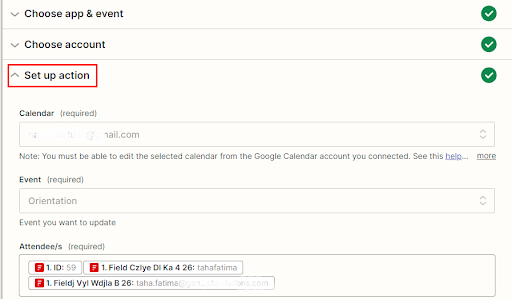
Next, select the calendar, event, and the required fields you want to appear in the calendar.

Test the form, and you will directly see the entry updated in the Google Calendar. No more hassles of adding manually!

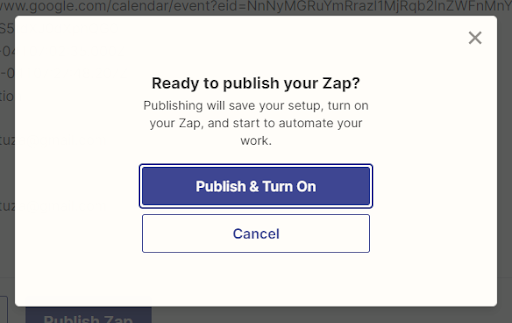
Once done, name your zap if you haven’t yet, and Publish.

That’s it! Every time the students sign up for the orientation, they will be automatically added to the calendar.


