Did you know that you can add your new team members to the Trello Board directly after their form submission to avoid adding them manually? It will save time and make it easier for you to track all entries.
This tutorial will show you how to connect Trello with Pie Forms and keep your team in the loop.
Create Your WordPress Form
The first thing you need to do is to install and activate the Pie Forms plugin. Next, create a form or edit an existing one. If you are new to Pie Forms, check our tutorial on How to create forms with Pie Forms.
Connect Your Forms With Zapier
We will use Zapier addon to integrate Pie Forms with Trello. With this add-on, you can connect to multiple web applications and automate your work. Here is our step-by-step guide on how to get started with Zapier.
Set Up Your Action Event
Next, select an App Event for the action you want to take in response to the trigger. This app is the service you want to send your form entry details. After selecting an app, choose an action you want to happen when a new form entry is submitted. For now, we will select Add members to the card.

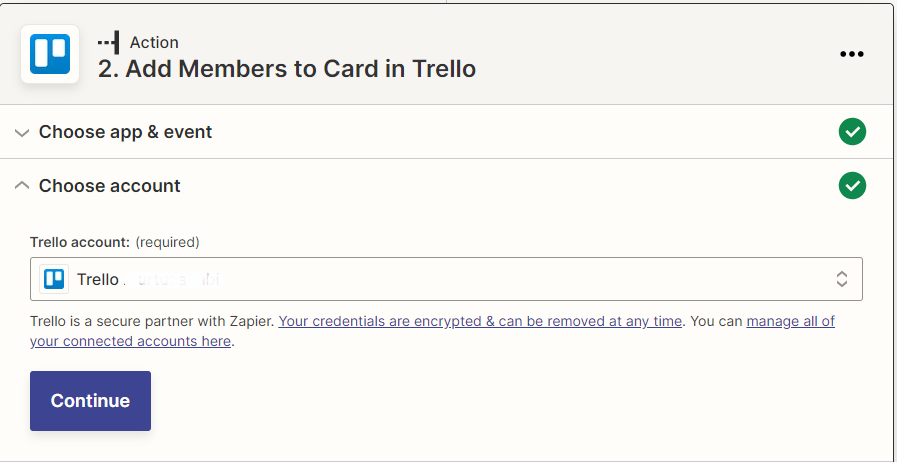
Then, you’ll need to connect your Trello account with Zapier.

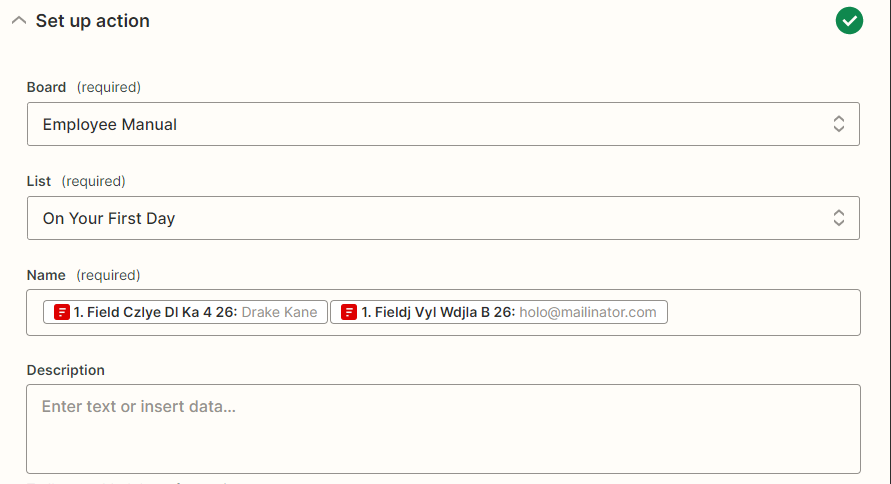
Click Sign In. Then allow Zapier to access it. Next, select an action. Add the Board Name and the required fields you want to show on the card.

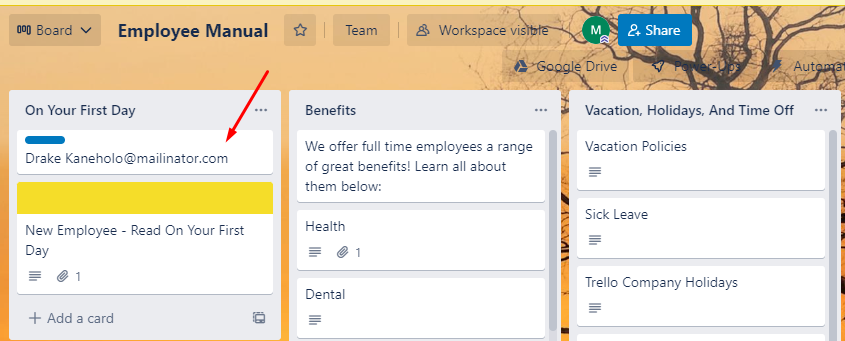
Next, select Continue to test out your new Zap. After testing, we will see a new entry with the field details we opt for.

That’s it! Every time a new employee sends in an entry, they are added to the Trello dashboard, where they can access all the policies and terms in one go. Zapier has thousands of apps and services available. The action steps will depend on which service or app you integrate with.


