If you have an online store, it’s a good idea to add your buyer’s contact details to the MailChimp Subscribers list for later follow-up. Is there an easy way to do it? Yes, with Zapier, you can directly update the subscriber’s list in one go!
This tutorial will walk you through installing and using the Pie Forms Zapier addon and updating MailChimp automatically after every form submission.
Before we get started, ensure that the Pie Forms plugin is installed and activated on your website.Details here
Create And Embed Your WordPress Form
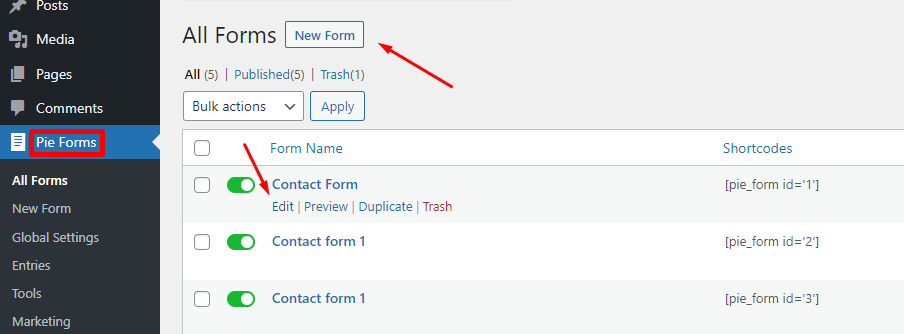
Next, create a new form or edit an existing one to embed on your website. Go to Pie Forms>>All Forms and select the one you want to edit. To create a new one, click the New Form button.

If you are new to Pie Forms, check our tutorial on How to create forms with Pie Forms. After editing the form, copy the shortcode and paste it where you want to embed it, and you are done.

Get Started With Zapier
Next, we will use the Zapier addon to integrate Pie Forms with MailChimp. With this add-on, you can connect to multiple web applications and automate your work. Here is our step-by-step guide on how to get started with Zapier.
A short overview on how to get started with Zapier
- Install and activate the Zapier addon
- Create a Zap in Zapier
- Set up your Trigger Event. (We will use Pie Forms)
- Add the website URL and API key to access Zapier (We will use Pie Forms)
- Test the trigger
- Select an action event. (We will use MailChimp)
Set Up Your Action Event
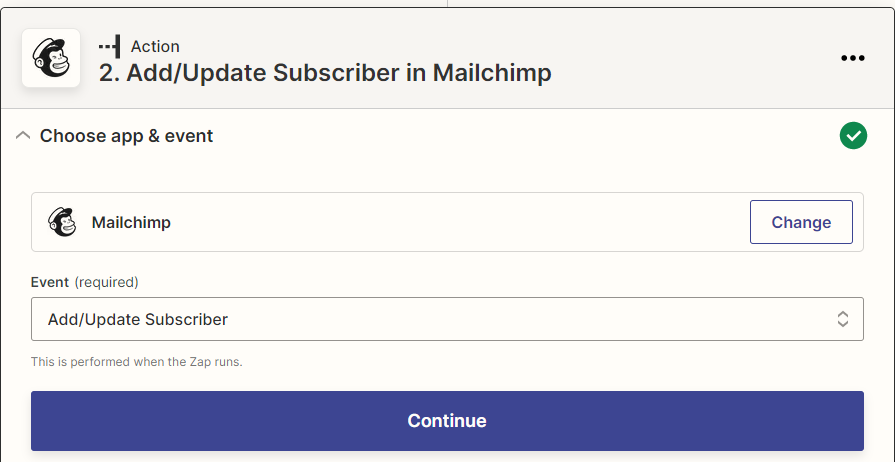
Once you are done with the Trigger part, select the action application you want to perform the task when a user submits the form. We will choose MailChimp as our action app and add/update subscribers when a user submits a form on the purchase of any product.

Press Continue and connect your MailChimp account. Allow Zapier to access it.

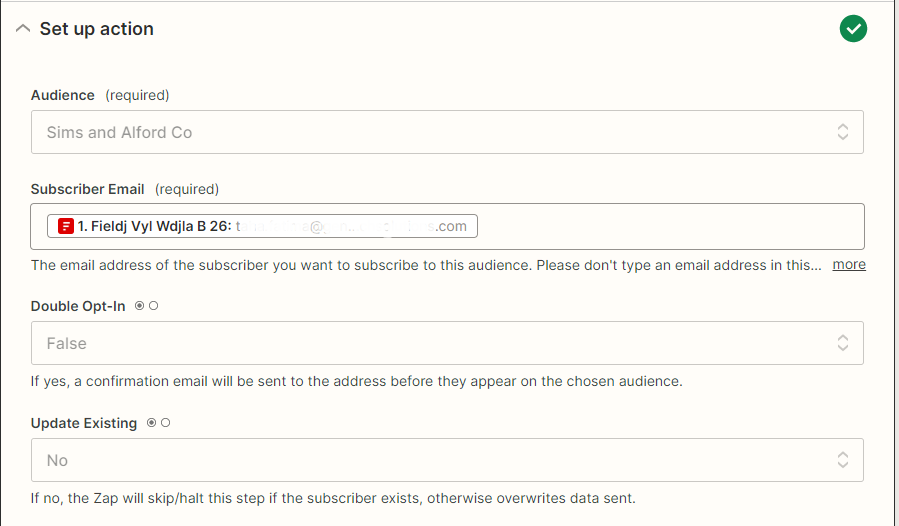
Press Continue and add the details you want to add to the MailChimp list. You can also add tags to make it more segmented.

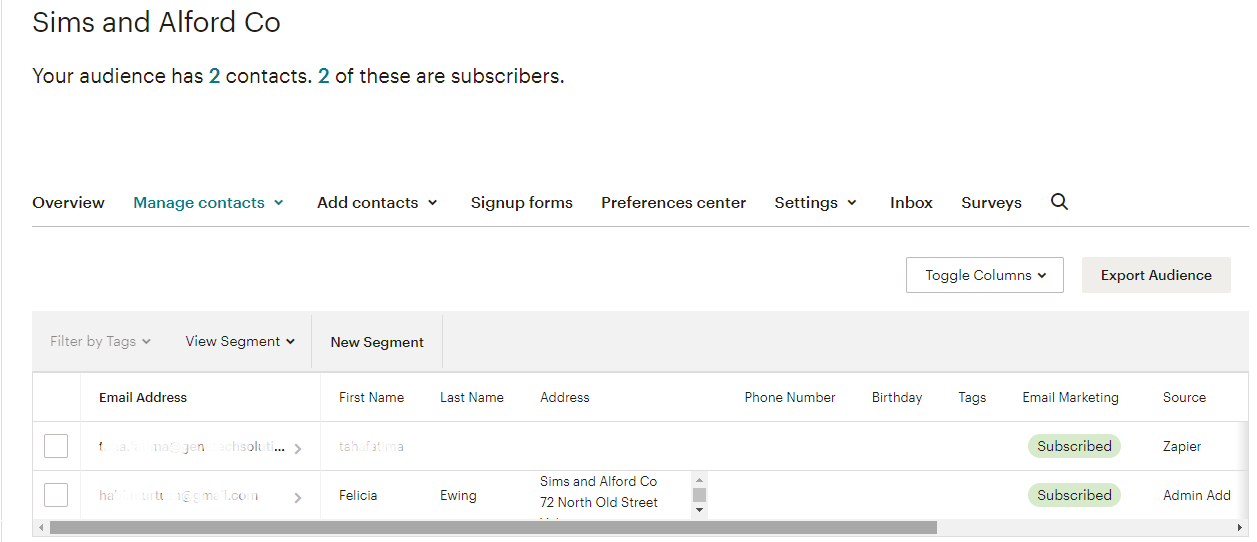
Next, test your action, and you will see the user added to your subscribers list automatically.

Now, select the action application you want to perform the task when a user submits the form. We will choose Google Contacts. Select the event as Create Contact as we want to add new customers/leads to your Google contacts.


