Adding file uploads directly to Dropbox on every form submission is now easy with the Pie Forms Zapier addon. This lets you create a backup copy of your file for safe keeping and track them easily.
This tutorial will show you how to connect Dropbox with Pie Forms and create a backup of file uploads.
Create Your WordPress Form
The first thing you need to do is to install and activate the Pie Forms plugin. Next, create a form or edit an existing one. If you are new to Pie Forms, check our tutorial on How to create forms with Pie Forms.
Note: Don’t forget to add a file upload field or Image upload field to your WordPress forms. Check our Advanced Fields tutorial on how to add and edit these fields to your forms.
Connect Your Forms With Zapier
We will use Zapier addon to integrate Pie Forms with Dropbox. With this add-on, you can connect to multiple web applications and automate your work. Here is our step-by-step guide on how to get started with Zapier.
Set Up Your Action Event By Integrating Dropbox
Sign in to your Dropbox account and create a new folder to save your uploaded files.

Then, go back to Zapier to connect the app. Choose Upload File as the Action and click Save + Continue.

Next, select Account to connect your Dropbox with Zapier.

Specify the correct folder in Dropbox where you want the files to upload. Also, specify the file upload field that you want to upload to Dropbox.

You can also specify the file name and extension. (optional)
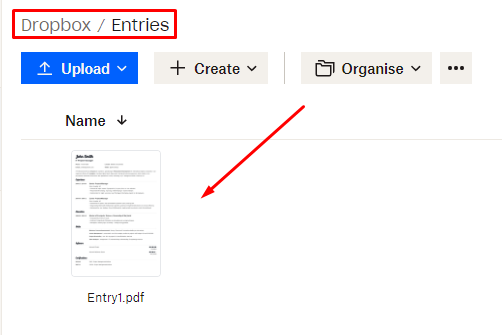
Next, click Send Test to Dropbox to test the Action step you’ve just created. Once tested, you will see the uploaded file in your dropbox account.

That’s all! This is how simply you can organize your uploaded files in no time. Publish your zap, give a name and turn it On to active it.


